Online Flasher
The online flasher tool allows you to flash firmware to your ESP32 device directly from the browser, without installing any development environment.
Note
Online flashing is supported only in Chrome or Edge browsers.
Warning
Use a USB cable that supports data transfer. A charging-only cable may power the board but will not work for flashing or serial connection.
Prerequisites
Chrome or Edge browser installed (Web Serial API support required)
ESP32 device connected to your computer with a USB data cable before clicking
ConnectSerial port device recognized in Device Manager
Note
If the device is not found in Device Manager, try using a different USB port.
Note
For the LAFVIN ESP32S3 AIChatBot on Windows, connect the USB Type-C data cable to the ESP32-S3 UART port for online flashing. On macOS, use the USB port and follow the macOS download-mode note below.
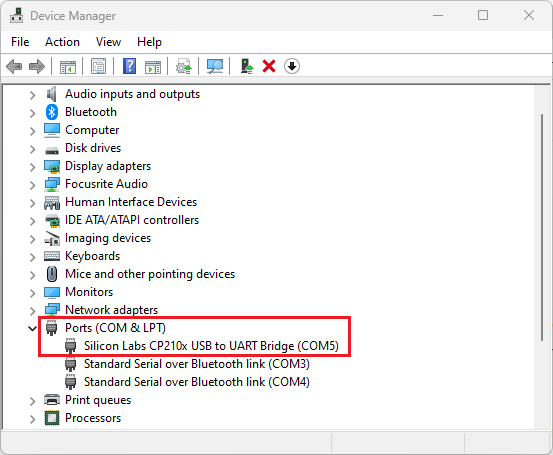
Flashing Steps
Open the online flasher: LAFVIN Web Flasher
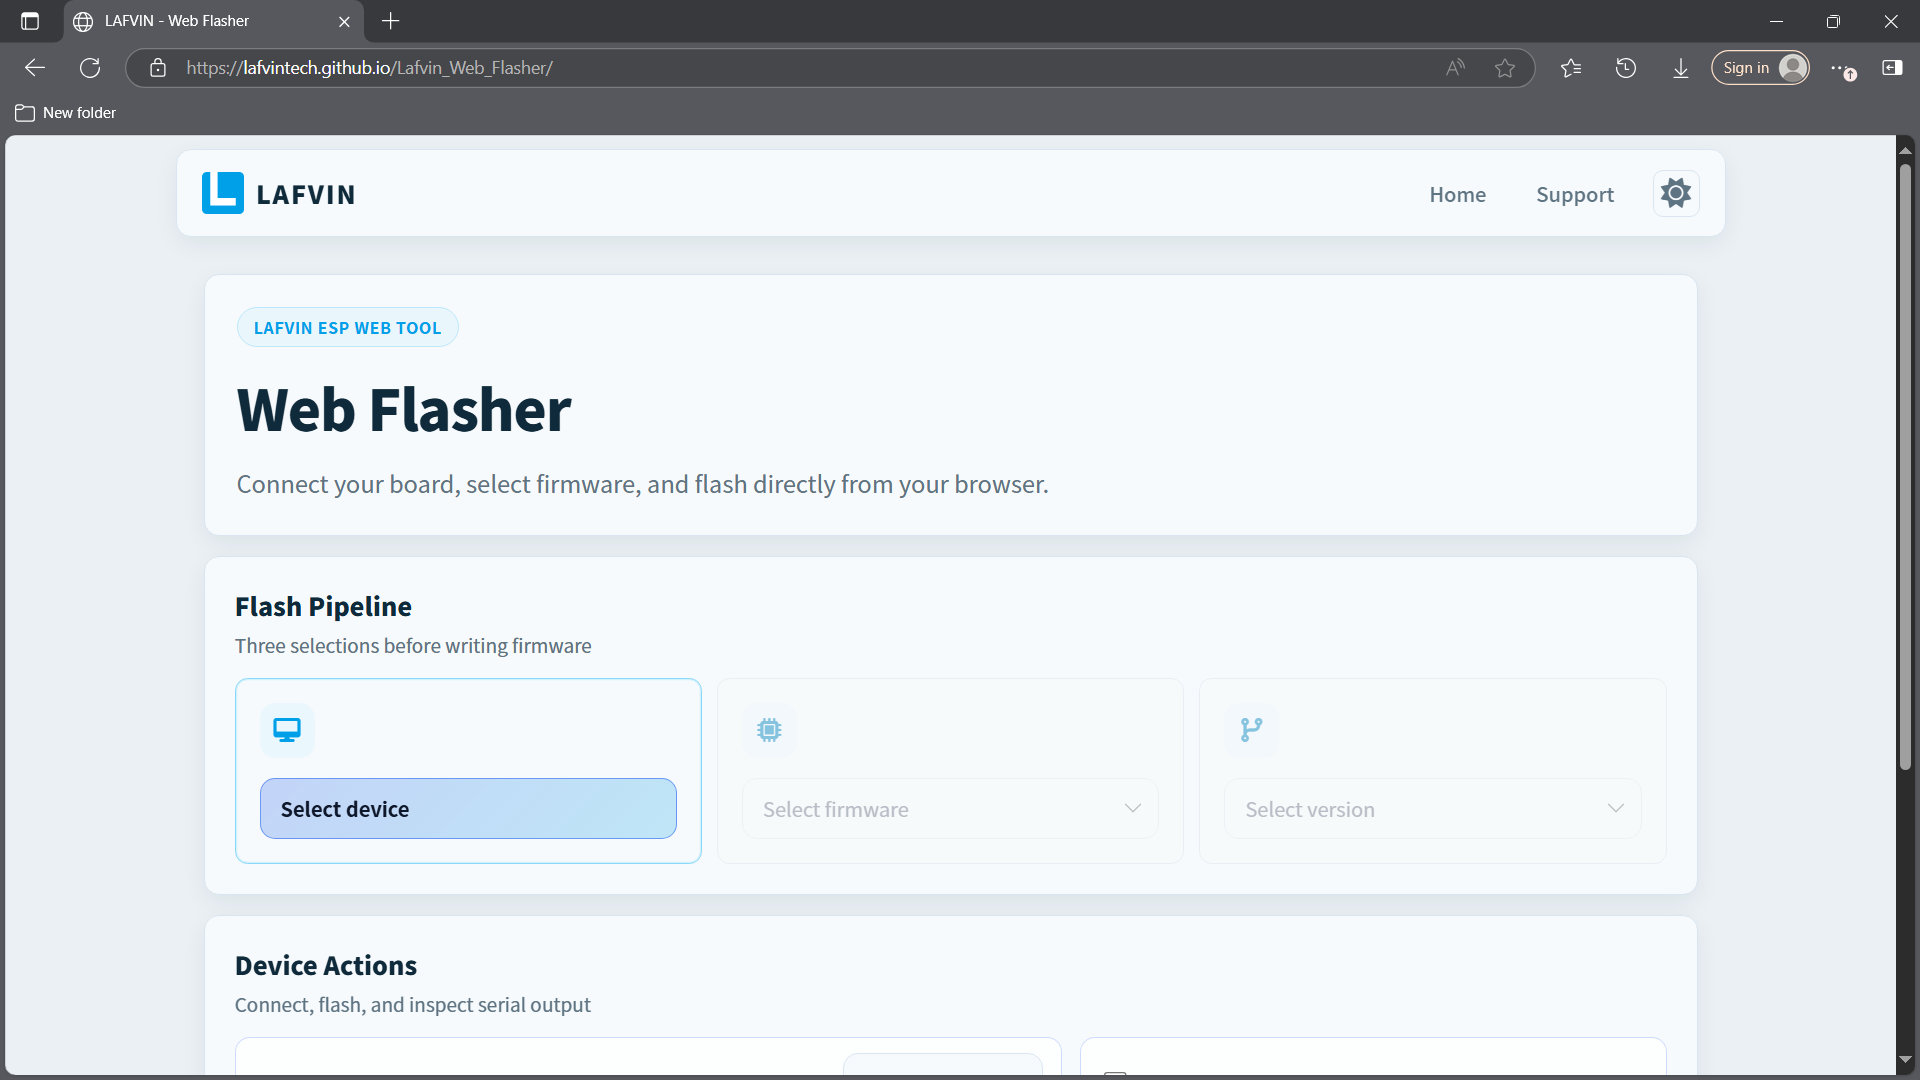
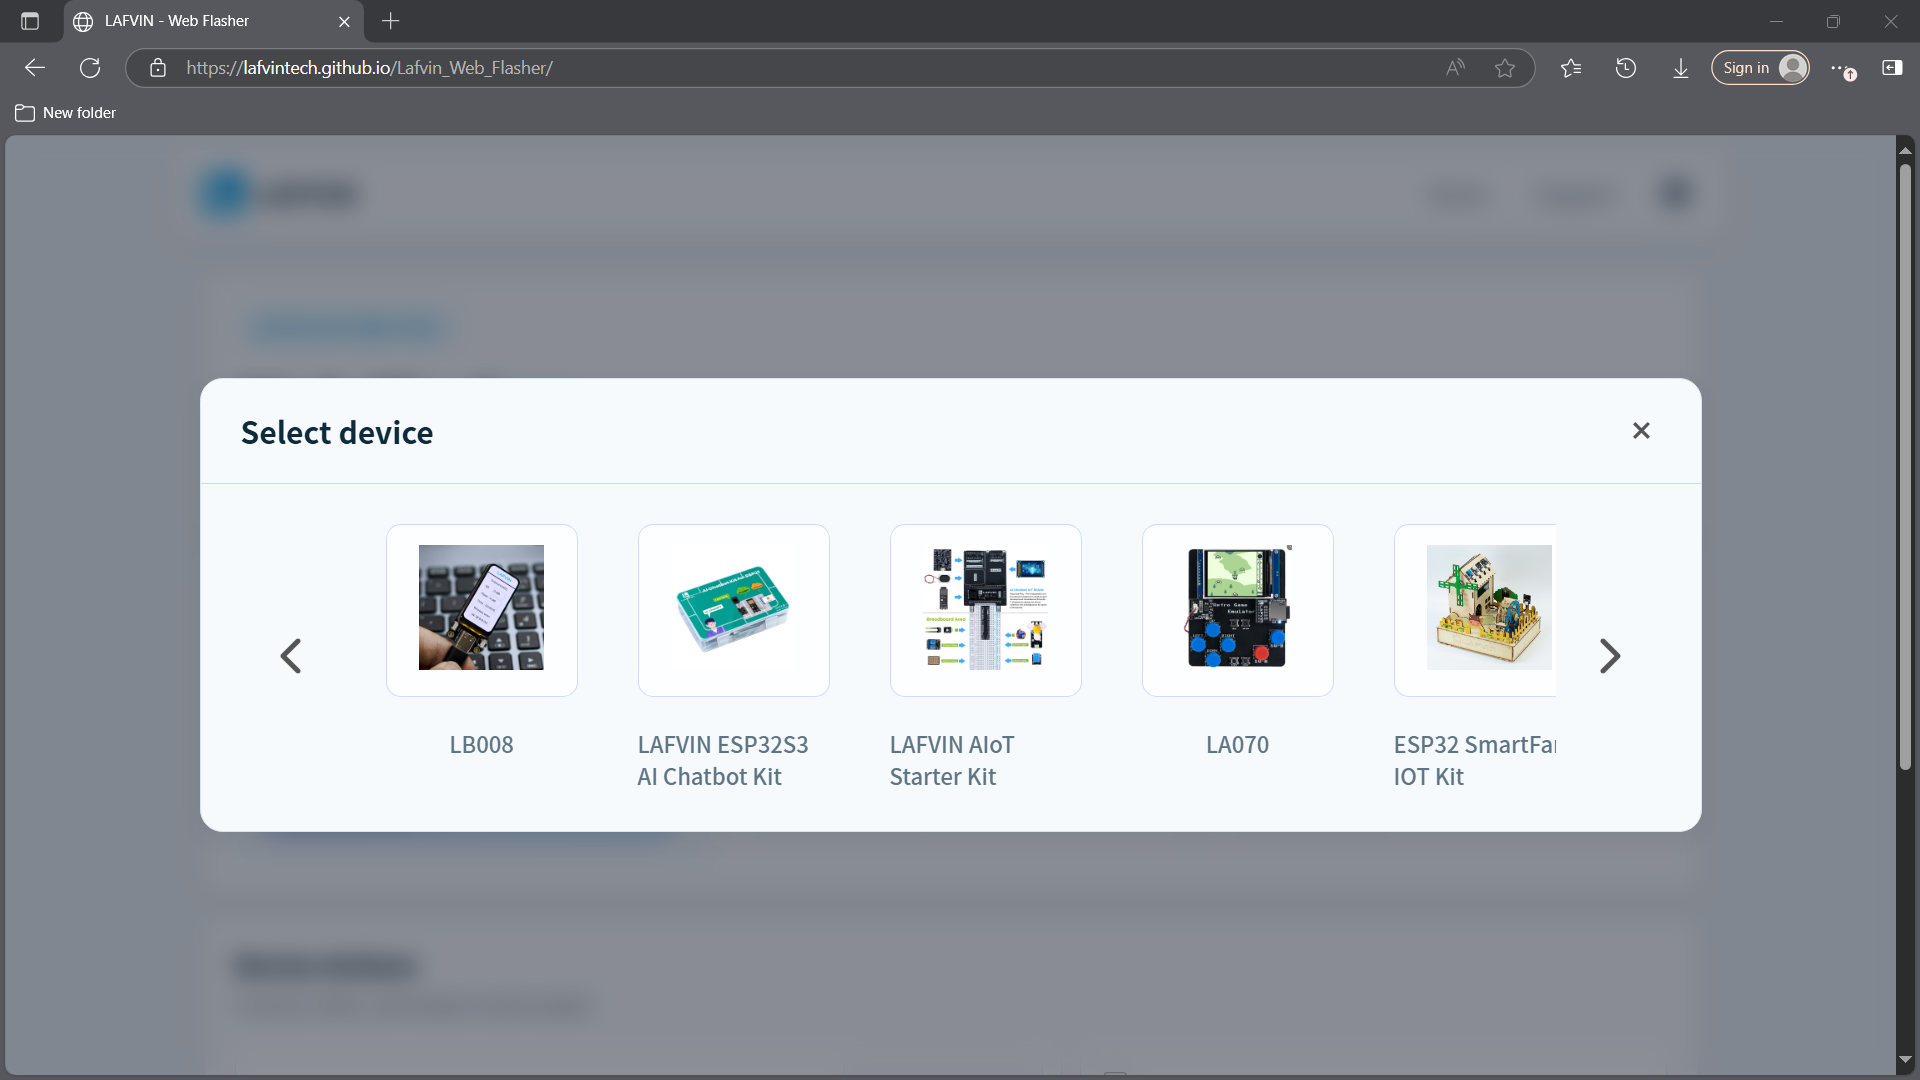
Select your kit or device model.
Select the firmware to flash.
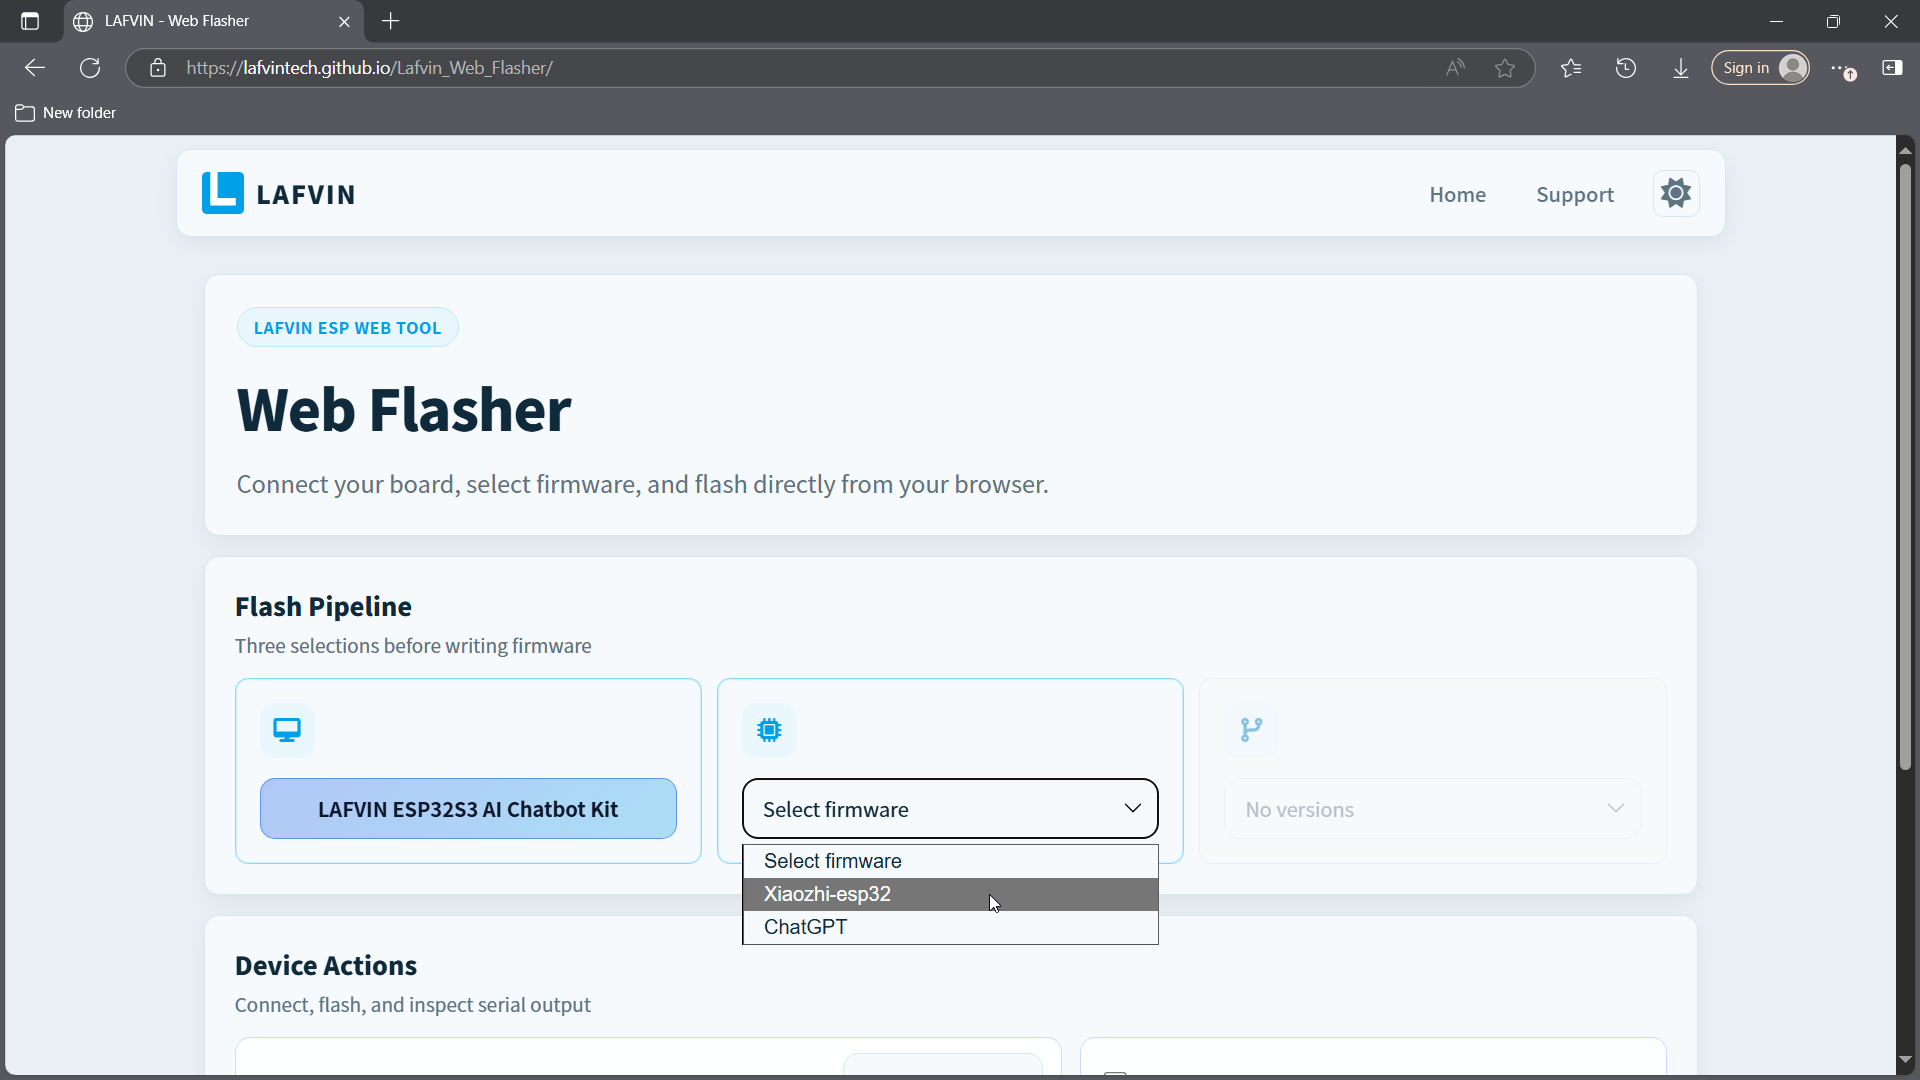
Select the firmware version.
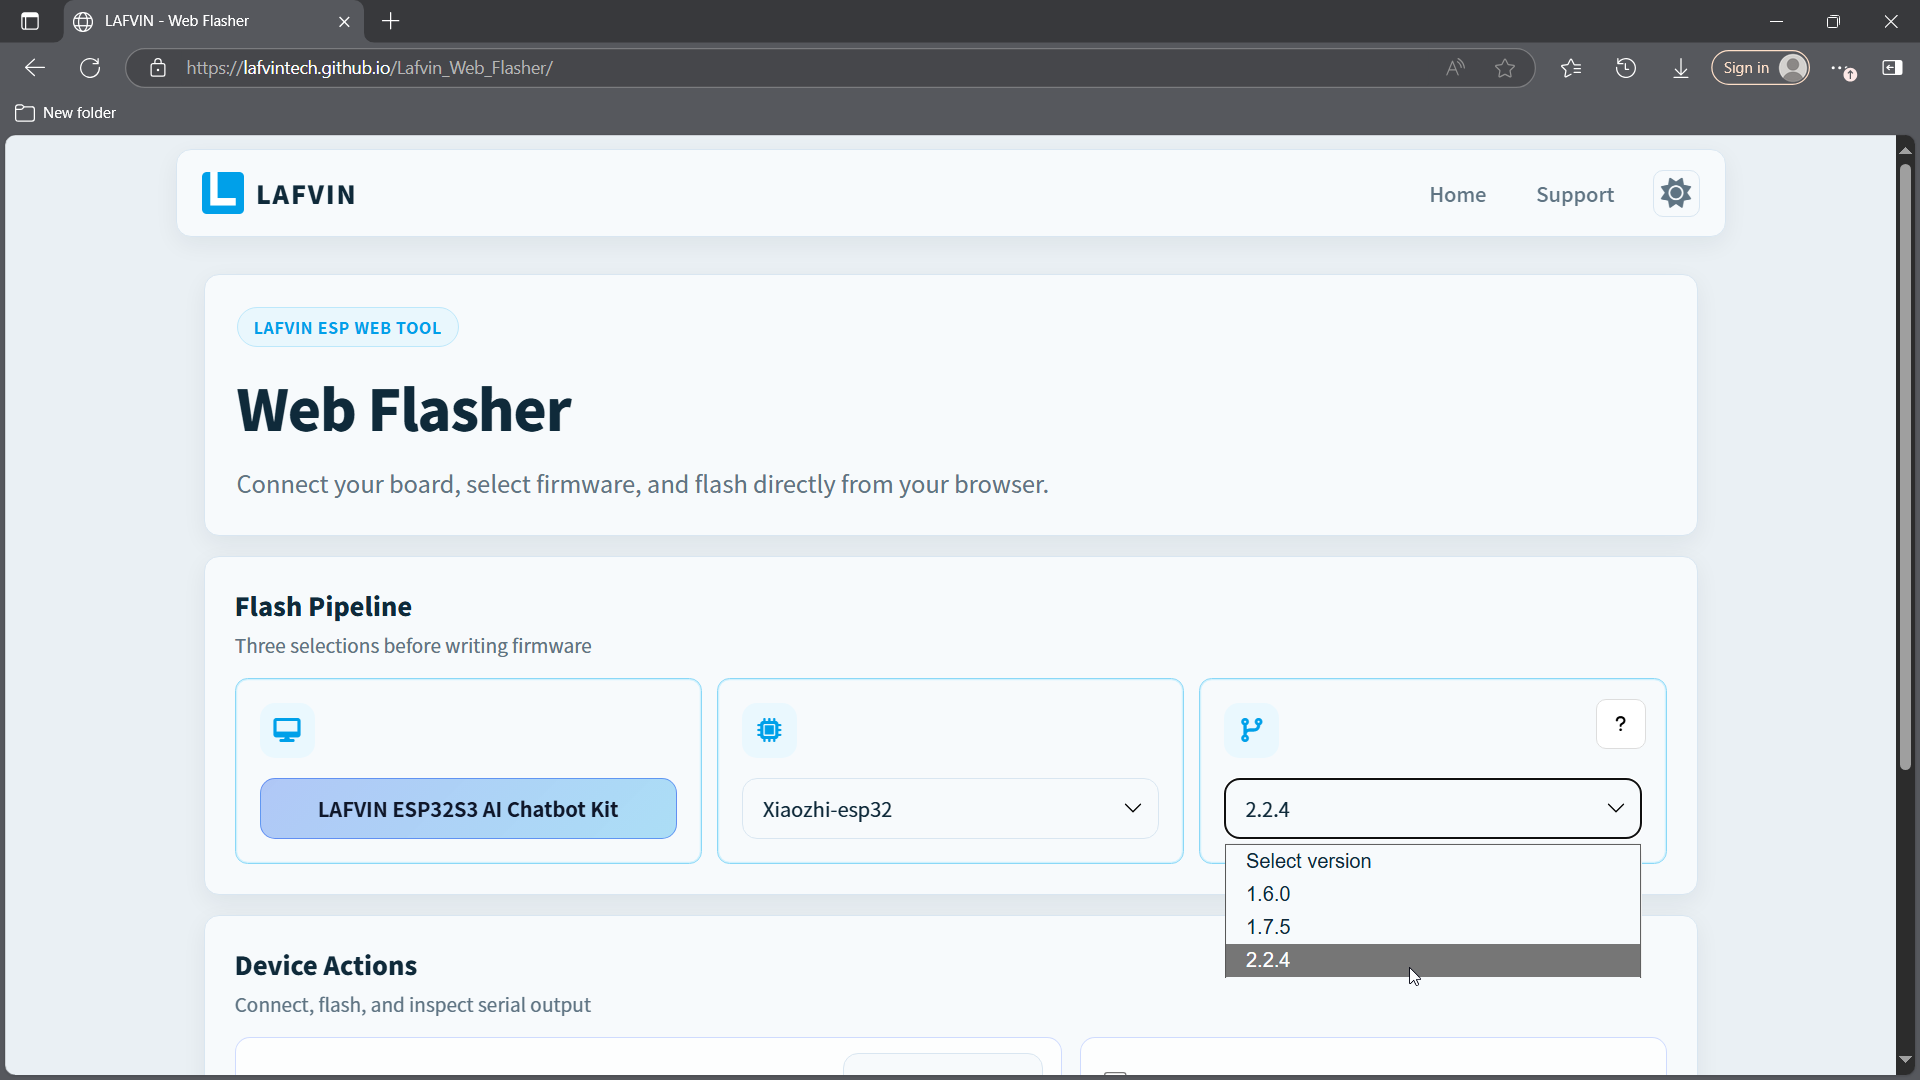
Connect the device to your computer before clicking
Connect. You may plug in the device after opening the flasher page, but it must be connected before this step.Click
Connect. A serial port selection window will pop up in the upper-left corner of the browser (grant permission if prompted). Select your device and clickConnect. Once connected, the button will change toDisconnect.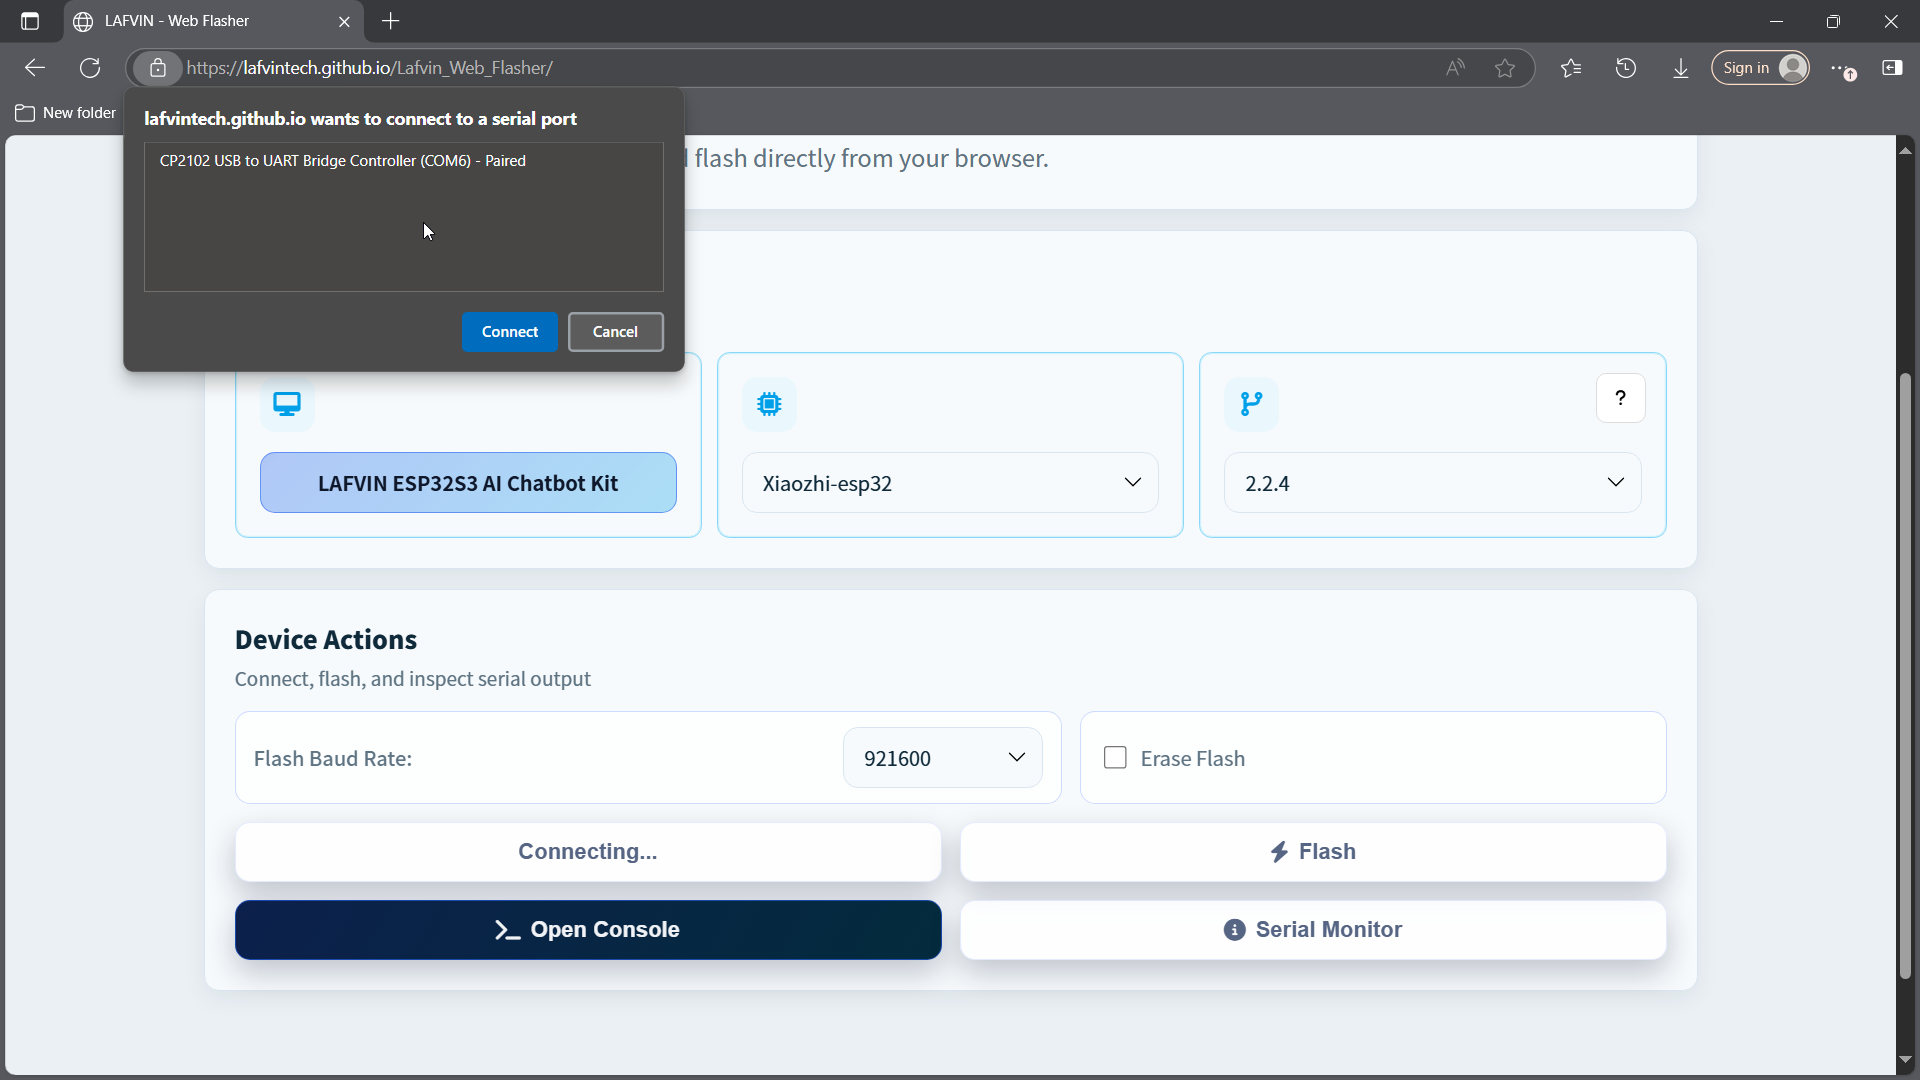
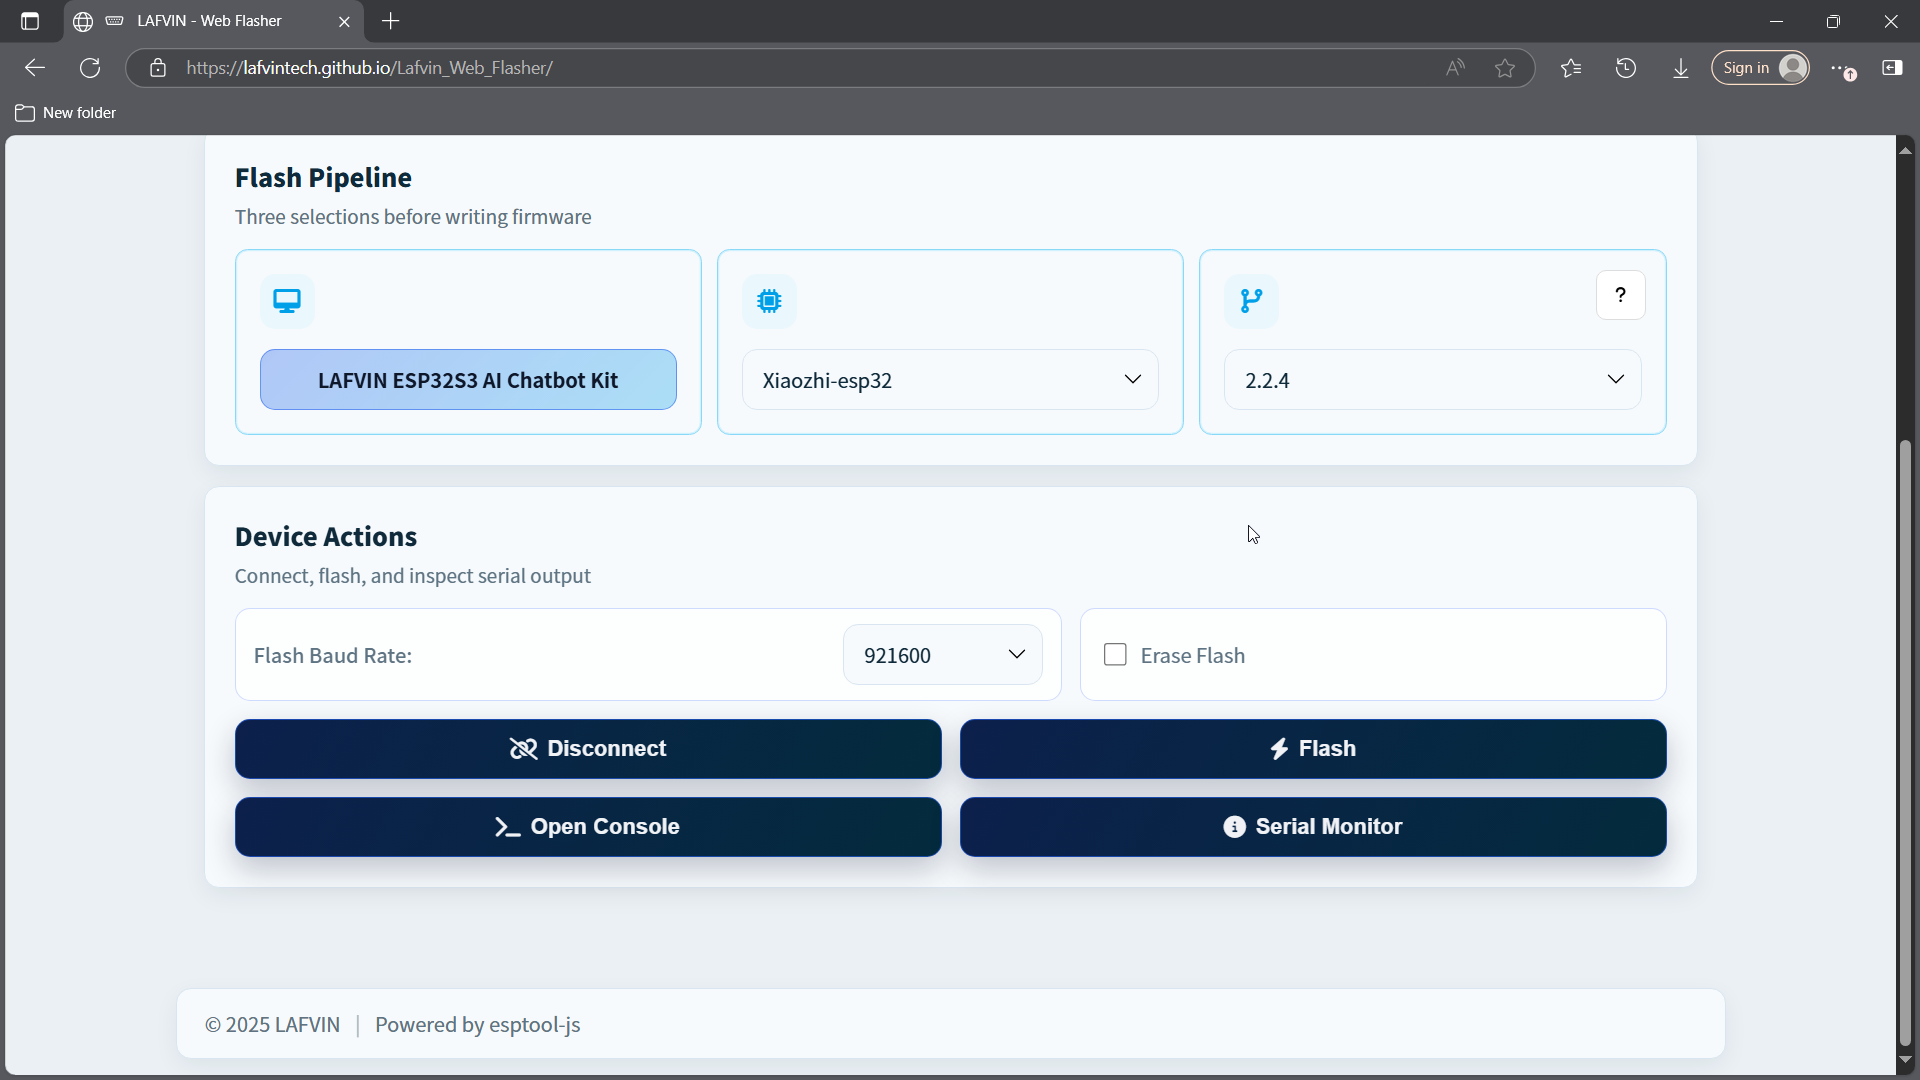
Note
When using online flashing on macOS, connect the USB Type-C cable to the ESP32-S3 USB port instead of the UART port. Then press and hold BOOT, press RESET while still holding BOOT, and enter download mode before clicking Connect or starting the flash process. The screen will turn black after the device enters download mode; this is normal.
Entering Download Mode on macOS
Select the
Flash Baud Rateand whether to enableErase Flash(recommended for first-time flashing). Once confirmed, clickFlash. The tool will automatically erase and write the selected firmware.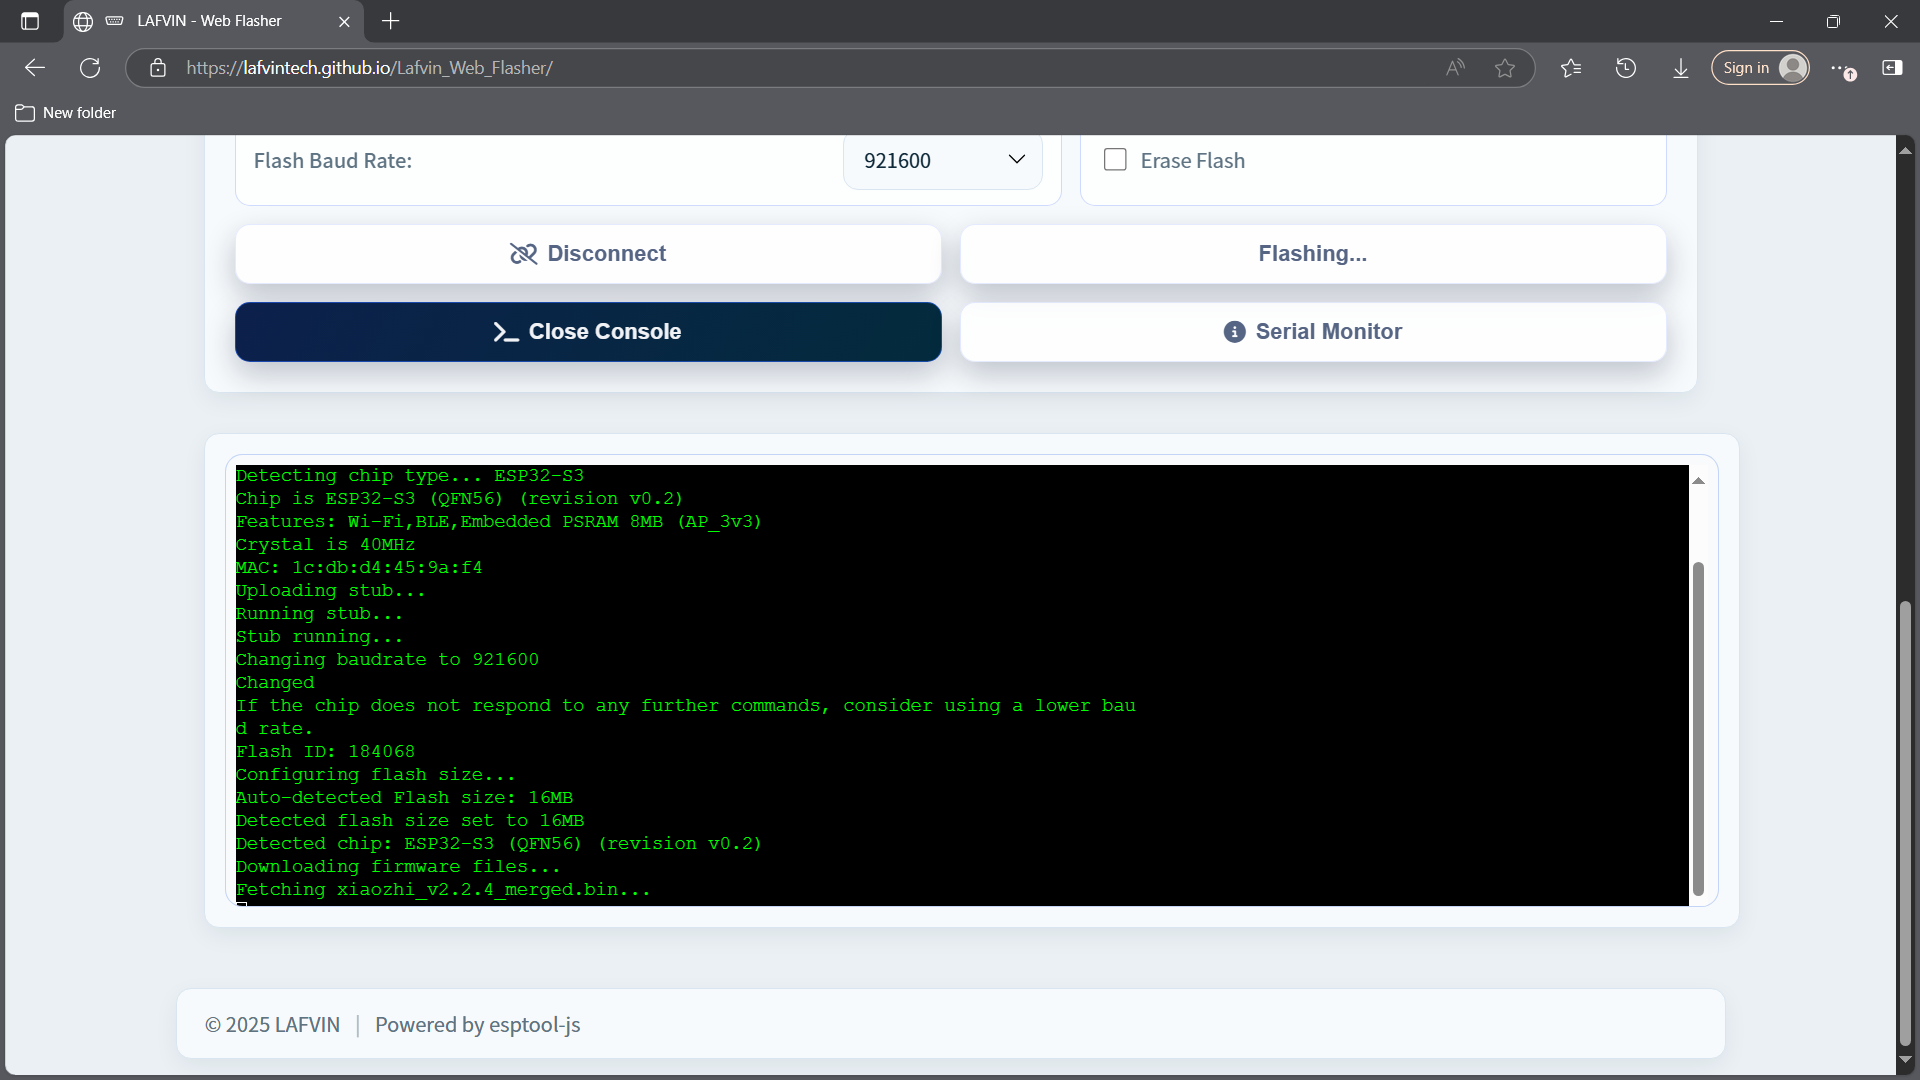
Note
The Flash erase process may take a while. Please be patient.
After flashing is complete, restart the device by pressing the RST or RESET button on the ESP32-S3 board. You usually do not need to unplug the USB cable.
Alternative Help
If online flashing does not work, use the following system-specific references:
Windows: If the serial port does not appear or the device cannot connect, see Driver Installation for CP210x driver installation and Windows 11 troubleshooting.
macOS: Online flashing is still recommended first. If it does not work, see macOS Firmware Upload (Alternative) for the local macOS flashing alternative.